How to make a GIF in Photoshop using our animated GIF tutorial
We’ve had many requests of people wanting us to show them how to make a GIF in Photoshop. So we came up with a really great animated GIF tutorial to help you make your own GIF. In this tutorial we will show you how to add text to an image and make the text animated by changing the color of the letters one by one. This should give you a basic idea of how to animate an image using Photoshop. If you wish to convert a video to GIF make sure to watch this tutorial we have created as well.
Pick your image to animate in Photoshop
If you don’t already have your own image picked out. You can do what we do, which is find an image that is free for commercial use, with no attribution required. We created a list of websites that provide free commercial use images here for your convenience. Our go to, that we use quite often, is Pixabay.
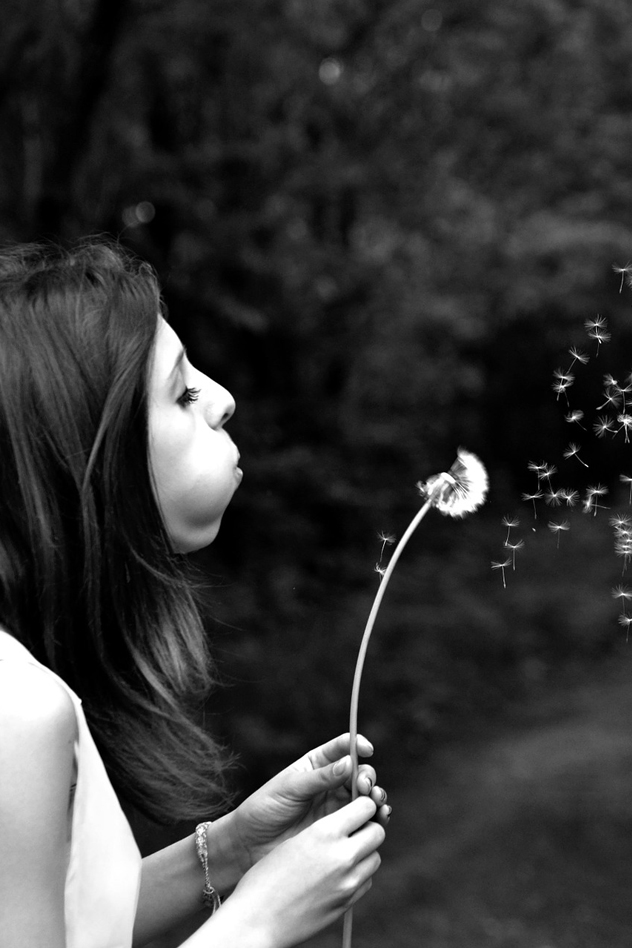
For the purpose of this tutorial, we chose a woman blowing a dandelion and have decided to animate the image by adding text to create our make a wish GIF.
Start by sizing your image accordingly
The very first thing we do after selecting an image for animation is sizing the image to use for social media. We normally size our GIF images to 1080 x 1080 pixels. As we have found this to be a good size when sharing our images on several social media platforms. So you’ll want to make sure you download a stock photo off the internet or are using an image that is equal to or greater than the image size of 1080 pixels.
To size your image accordingly, create a new image in Photoshop, and when prompted change the width and the height to 1080 pixels or your preferred settings. Then open your image and change either the height or the width to 1080 pixels so that when you copy the image and paste it into your new document it will fill the entire canvas. For example if you change the width to 1080 pixels and the height automatically adjusts to 719 pixels then this will not suffice. Go back and change the height to 1080 pixels so that the width is the same or greater.
Copy your image with its new size settings and then paste it into your new document that already has a height and width set to 1080 pixels. Of course, position your image to your liking and so that it completely fills the canvas. When this is done you are now ready to start adding the text you wish to have animated in the GIF.
Add text to your GIF image in Photoshop
Here we will begin to show you how to make a GIF image in Photoshop. Begin by adding text to your image that we will later be animating. For this tutorial we decided to use the text “make a wish” which will compliment our image of a woman blowing a dandelion nicely. Decide on the color you wish your GIF image to start out with from the beginning. Since the image we chose is black and white we decided to make the text white to begin with and then animate the text by changing each letter, one by one, to pink.
In Photoshop, use the “horizontal type tool” with the text color set to white or your color of choice. Type the words you wish to animate on the image. This will automatically create a new text layer within Photoshop. Size and position your text to your liking. In our example, we centered the text and used Myriad Pro with 100 pt font size.
Setup your GIF image in Photoshop for animation
Now you’re ready to learn how to make a GIF in Photoshop. To animate the text in Photoshop you’ll need to duplicate the text layer located on the layers panel. Simply, right-click on the text layer and select “duplicate layer”. You will be prompted to give the layer a new name. We usually name our duplicated layers as such: 1st letter, 2nd letter, 3rd letter, and so forth. This is our naming scheme we use when animating text on an image by changing the color of the letters one by one.
As you duplicate the first layer for the first letter, change the color of the 1st letter to again your color of choice, or pink in our case. Now duplicate this layer, the layer that has the 1st letter in a different color for animation. Name this layer, 2nd letter, and again change the color of the 2nd letter. In this layer you should see the 1st letter and the 2nd letter using your animated colors. Continue to do this method until all the letters have been changed to the final color.
We usually like to end our animated GIF with the original color we started with, which was white. Duplicate the original text layer, where all the text is white, and keep it as a copy of the original. You should now see a beginning text layer, 1st letter layer, 2nd letter layer, and so forth followed by your ending text layer which is an exact duplicate of your beginning layer.
Now, this is how to make a GIF in Photoshop
Let’s start making this GIF image come to life! Up in the right-hand corner of Photoshop select “Video” from the drop-down menu. You should then seen the animation timeline appear at the bottom of your screen in Photoshop. When learning how to make a GIF in Photoshop you’ll need to work with the animation timeline to slow down or speed up your GIF image and of course create your animation.
In the animation timeline you will see rows of green bars for each layer you created for your GIF image. To animated the text, you’ll need to move the green bar for the 1st letter all the way to the ending layer displaying your final color. To do so, left-click on the green bar and drag it to the right and do this for each layer making each layer start at a different time frame. The green bars should look like steps when you are done. Like you are creating steps with the bottom step on the far left (the beginning) and the top step on the far right (the ending). We usually have our frames 20fps (frames per second) apart. For example, the 1st letter layer will start at 20f, the 2nd letter layer at 01:10f, and the 3rd letter layer at 02:00f.
Set the end of your GIF work area
Now that your animation is all set, you’ll need to pin point the end of your work area so that Photoshop knows your endpoint. Otherwise, Photoshop will continue to run your last frame for a longer amount of time and up until the default endpoint.
To change the end of your work area grab the time ruler at the 10:00f and drag it 20fps after your last frame or your ending layer.
We hope you enjoyed this tutorial on how to make a GIF in Photoshop. We do plan on making a YouTube video in the near future to help give you a visual idea on making GIFs. And of course before we end this tutorial please make sure to visit our on how to export and save an animated GIF in Photoshop. And when you’re all done and you’re ready to share your GIF image, how to put a GIF on Facebook, Instagram and many other social media platforms.
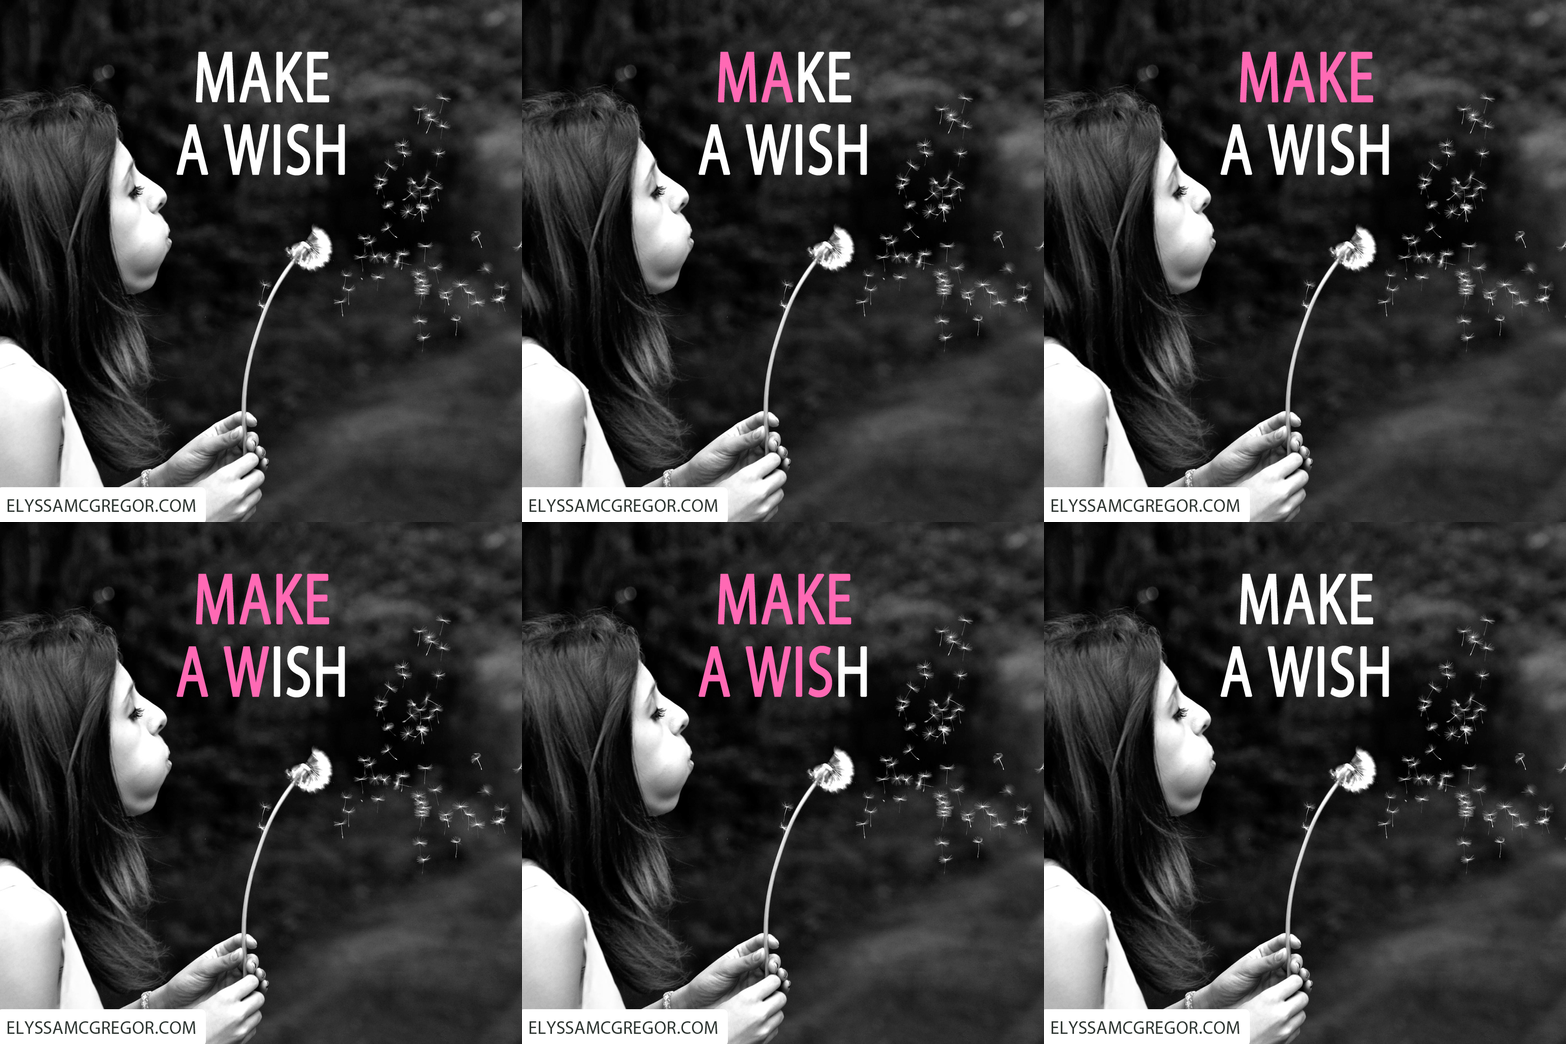
Make a Wish GIF Image
How to make a GIF in Photoshop

